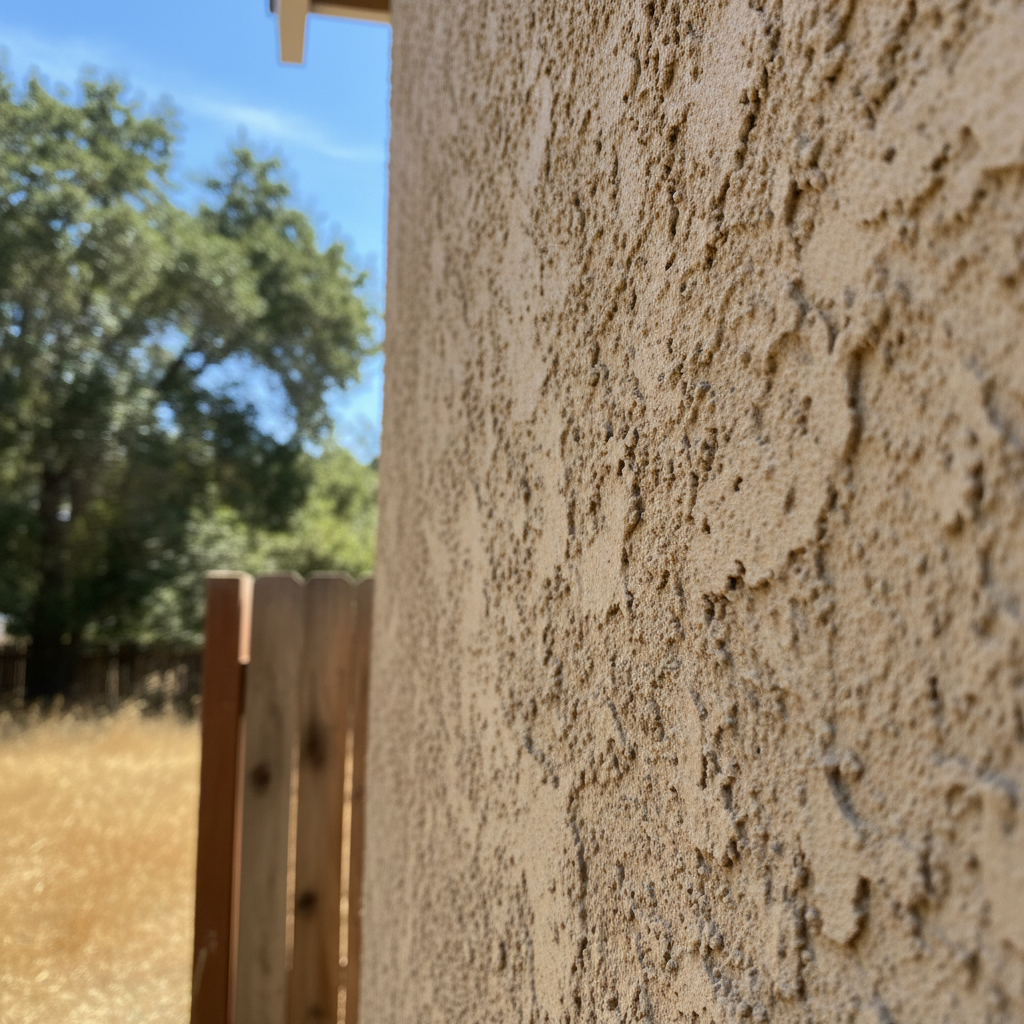
So, you're thinking about putting stucco on your house. Maybe you're building new, or maybe you're just plain tired of that old siding and want something durable and classic. It's a really smart choice, especially around here in Watsonville, where we get those damp, foggy mornings followed by hot, sunny afternoons. Stucco, you know, handles that kind of weather like a champ.
But let's be honest: can you actually put stucco on yourself? And what does that even mean, practically speaking? I've seen a lot of stucco jobs come and go in Watsonville over the years — some great, some, well, not so great — and I can tell you there's a huge difference between a quick patch and a full-blown installation.
Before You Start: Planning & Prep
First things first, you need a solid plan. This isn't like painting a room, not by a long shot. Stucco is a multi-layer system, and each layer has to be just right for the whole thing to hold up. You'll need to figure out what kind of stucco system you're aiming for – traditional three-coat, one-coat, or even EIFS. Each one has its own specific needs, and honestly, for a whole house, this is where most homeowners hit their first snag. You've also got to understand the building codes. Watsonville has specific rules for things like weep screeds, flashing, and moisture barriers. Messing that up can lead to big headaches down the road, like water getting in and causing rot. Nobody wants that.
Then there's the prep work. This is probably the most critical step, and it's actually where you can do a lot yourself to save some money, even if you end up hiring a pro for the actual stucco application. You'll need to make sure your walls are clean, sturdy, and ready for the lath. If you're ripping off old siding, that's a big job right there. You'll also need to put up the weather-resistive barrier (WRB) – that's usually two layers of building paper or a synthetic wrap. This is your main defense against water, so it absolutely has to be installed perfectly, shingle-style, with all penetrations properly flashed. You can definitely handle putting up the WRB and installing the weep screed at the bottom, making sure it's level and attached correctly. Just be sure you're following the manufacturer's instructions and local code for overlaps and fasteners.
The Installation Process: Where DIY Gets Tricky
Once the WRB and weep screed are in place, it's time for the metal lath. This is the wire mesh the stucco grabs onto. You fasten it over the WRB, making sure it's tight and flat. This is another step a handy homeowner can tackle. It's repetitive, sure, but not overly complicated, as long as you're using the right fasteners and spacing them correctly.
Now, here's where things get really serious: applying the stucco coats. This is the part where I'd strongly suggest calling in a professional. I'm talking about the scratch coat, brown coat, and finish coat. Each coat has a specific mix, thickness, and curing time. The scratch coat needs to be pushed into the lath just right to create a strong bond. The brown coat needs to be leveled and floated to make a perfectly flat surface, which, trust me, is much harder than it looks. And the finish coat? That's what everyone sees! Getting a consistent texture and color across an entire wall, let alone a whole house, takes years of practice. It's not just about slapping mud on a wall. It's about precision, timing, and knowing how the material behaves in different conditions – like when that afternoon sun starts beating down on the west side of your house in August. What a nightmare!
I've seen homeowners try to do this themselves, and often, they end up with uneven surfaces, inconsistent textures, or worse, cracks because the mix wasn't right or it dried too fast. Hiring a company like Watsonville Stucco & Plastering for this part means you get a durable, beautiful finish that actually lasts.
After Installation: Curing & Care
Once the stucco is on, the job isn't quite done. The curing process is super important. Stucco needs moisture to cure properly and get its full strength. For the first few days, you'll need to mist the stucco with water, especially if it's hot and dry outside. This helps stop it from drying out too quickly and cracking. This is definitely something you can do yourself, and it's really important not to skip it.
After that, it's mostly about regular maintenance. Keep an eye out for cracks, make sure your gutters are clean and directing water away from the walls, and trim back any plants that are growing directly against the stucco. A well-installed stucco system is incredibly durable, but like anything, it benefits from a little attention.
So, can you DIY stucco installation? For the prep work – cleaning, WRB, weep screed, and lath – absolutely. You can save yourself a good chunk of change there. But for the actual application of the stucco coats, especially for a whole home, you'll get a much better, longer-lasting result by bringing in someone who does this day in and day out. Your home is a big investment; don't skimp on the parts that protect it, okay?